


Hey there! If you're looking to spruce up your outdoor space, installing outdoor bollard lights is a fantastic way to go. As an outdoor light supplier, I've seen firsthand how these lights can transform a dull area into a vibrant and inviting one. In this blog post, I'll walk you through the step-by-step process of installing outdoor bollard lights, so you can get started on your project right away.
Step 1: Plan Your Installation
Before you start digging holes and running wires, it's important to plan your installation carefully. Here are some things to consider:
- Location: Choose a location for your bollard lights that will provide the most illumination and enhance the aesthetic of your outdoor space. Consider factors such as the size and shape of the area, the existing landscaping, and the purpose of the lighting.
- Number of Lights: Determine how many bollard lights you'll need based on the size of the area you want to illuminate. As a general rule, you'll want to space the lights about 8 to 10 feet apart.
- Power Source: Decide whether you want to use solar-powered or hardwired bollard lights. Solar-powered lights are easy to install and don't require any wiring, but they may not provide as much light as hardwired lights. Hardwired lights, on the other hand, require professional installation and may be more expensive, but they offer more consistent and reliable lighting.
- Style and Design: Choose a style and design of bollard lights that complements the overall look and feel of your outdoor space. There are many different styles and designs available, from traditional to modern, so you're sure to find something that suits your taste.
Step 2: Gather Your Tools and Materials
Once you've planned your installation, it's time to gather the tools and materials you'll need. Here's a list of the basic tools and materials you'll need for a typical bollard light installation:
- Shovel: You'll need a shovel to dig the holes for the bollard lights.
- Level: A level will help you ensure that the bollard lights are installed straight and level.
- Tape Measure: You'll need a tape measure to measure the distance between the bollard lights and to ensure that the holes are the correct size.
- Wire Cutters: Wire cutters will be used to cut the electrical wires.
- Wire Strippers: Wire strippers will be used to strip the insulation from the electrical wires.
- Screwdriver: You'll need a screwdriver to attach the bollard lights to the mounting brackets.
- Bollard Lights: Of course, you'll need to purchase the bollard lights themselves. Make sure you choose lights that are suitable for outdoor use and that have the appropriate wattage and voltage for your power source.
- Electrical Wire: If you're using hardwired bollard lights, you'll need to purchase electrical wire to connect the lights to the power source. Make sure you choose wire that is rated for outdoor use and that has the appropriate gauge for your lights.
- Mounting Brackets: You'll need mounting brackets to attach the bollard lights to the ground or to a wall. Make sure you choose brackets that are suitable for the type of bollard lights you're using and that are designed to withstand the elements.
- Conduit: If you're running the electrical wire underground, you'll need to use conduit to protect the wire from damage. Make sure you choose conduit that is rated for outdoor use and that has the appropriate diameter for your wire.
Step 3: Dig the Holes
Once you've gathered your tools and materials, it's time to start digging the holes for the bollard lights. Here's how to do it:
- Mark the Locations: Use a tape measure and a stake to mark the locations where you want to install the bollard lights. Make sure the locations are evenly spaced and that they are in the desired location.
- Dig the Holes: Use a shovel to dig the holes for the bollard lights. The holes should be about 12 to 18 inches deep and about 6 to 8 inches in diameter. Make sure the holes are straight and level.
- Add Gravel: Once you've dug the holes, add a layer of gravel to the bottom of each hole. The gravel will help to drain water away from the bollard lights and prevent them from rusting.
- Insert the Conduit: If you're running the electrical wire underground, insert the conduit into the holes before you install the bollard lights. Make sure the conduit is straight and level and that it extends about 6 inches above the ground.
Step 4: Install the Mounting Brackets
Once you've dug the holes, it's time to install the mounting brackets for the bollard lights. Here's how to do it:
- Attach the Brackets to the Bollard Lights: Use a screwdriver to attach the mounting brackets to the bollard lights. Make sure the brackets are securely attached and that they are aligned with the holes in the bollard lights.
- Insert the Bollard Lights into the Holes: Carefully insert the bollard lights into the holes in the ground. Make sure the lights are straight and level and that the mounting brackets are sitting on top of the gravel.
- Secure the Bollard Lights to the Mounting Brackets: Use a screwdriver to secure the bollard lights to the mounting brackets. Make sure the lights are tightly secured and that they are not wobbling.
Step 5: Connect the Electrical Wires
If you're using hardwired bollard lights, it's time to connect the electrical wires. Here's how to do it:
- Strip the Insulation from the Wires: Use wire strippers to strip the insulation from the ends of the electrical wires. Make sure you strip about 1/2 inch of insulation from each wire.
- Connect the Wires to the Bollard Lights: Use wire nuts to connect the electrical wires to the bollard lights. Make sure you connect the wires to the correct terminals on the lights and that the connections are tight.
- Run the Electrical Wire through the Conduit: If you're running the electrical wire underground, run the wire through the conduit and connect it to the power source. Make sure the wire is securely connected and that there are no loose connections.
- Test the Lights: Once you've connected the electrical wires, turn on the power and test the lights to make sure they are working properly. If the lights don't work, check the connections and make sure the wires are properly connected.
Step 6: Backfill the Holes
Once you've installed the bollard lights and connected the electrical wires, it's time to backfill the holes. Here's how to do it:

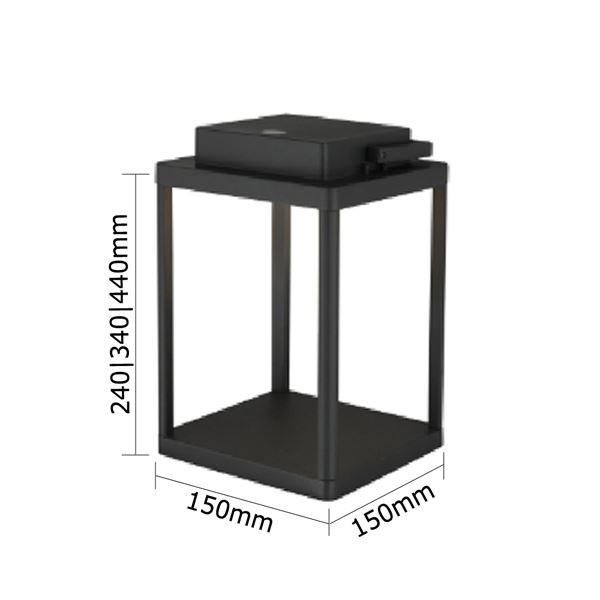
- Add Soil to the Holes: Use a shovel to add soil to the holes around the bollard lights. Make sure the soil is packed tightly around the lights and that there are no air pockets.
- Water the Soil: Once you've backfilled the holes, water the soil to help it settle. Make sure the soil is moist but not saturated.
- Level the Ground: Use a rake to level the ground around the bollard lights. Make sure the ground is smooth and that there are no bumps or depressions.
Step 7: Enjoy Your New Outdoor Lighting!
Congratulations! You've successfully installed your outdoor bollard lights. Now it's time to sit back, relax, and enjoy your new outdoor lighting. Whether you're using the lights to illuminate your driveway, patio, or garden, they're sure to add a touch of style and elegance to your outdoor space.
If you're interested in purchasing outdoor bollard lights or other outdoor lighting products, please feel free to contact us. We're a leading outdoor light supplier, and we offer a wide range of high-quality outdoor lighting products at competitive prices. We also offer professional installation services, so you can rest assured that your outdoor lighting will be installed correctly and safely.
In addition to outdoor bollard lights, we also offer a variety of other outdoor lighting products, including Outdoor Hand Light USB, path lights, flood lights, and landscape lights. So, whether you're looking to illuminate your entire outdoor space or just add a few accent lights, we've got you covered.
Thanks for reading our blog post. If you have any questions or comments, please feel free to leave them below. We'd love to hear from you!
References
- "Outdoor Lighting Installation Guide." Home Depot.
- "How to Install Bollard Lights." Lowe's.
- "Tips for Installing Outdoor Lighting." This Old House.


